Groups allow a user to control access to their library items.
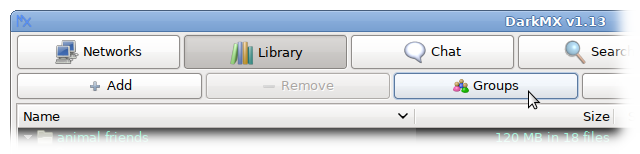
To create a group, visit the Library page and click the
Groups button. From the drop-down menu click
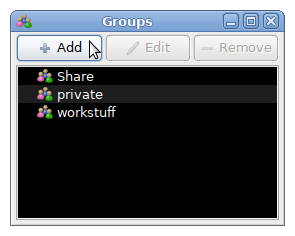
Add. Type a name for the group in the dialog box and click
OK.
You can create as many groups as you wish. Group names can include spaces.
Associating Library Items with a Group
By associating items in your library with a group you control the files and folders that are accessible to selected contacts and networks.
Each group appears as a column in your library items list. This column controls the availability of each library item to the group's associated networks or contacts.
Key to Icons
Red Cross (default): Item is not accessible to the group.
Green Tick: Item is accessible to the group.
Grey Dash (folders only): Descendent items are a mixture of accessible and inaccessible to the group.
By adding a contact to a group you grant them access to the library items associated with that group; those items will appear in search results and your browsable library.
To add a contact to a group expand the
Contacts pane, right-click on the contact, and select the group from the
Groups menu.
Note: The Groups menu will only appear in the context menu if you've created at least one group.
A contact can be a member of multiple groups.
Associating Groups with Networks
By associating a group to a network you grant all online members of that network access to the library items associated with that group; those items will appear in search results and your browsable library.
To associate a group to a network, navigate to the
Networks view, and simply use the checkbox columns.
Networks that you are hosting will be advertised in other networks that have at least one common share group selected, as long as the hosted network also has
advertise=1 in it's configuration text.